Bioswales in Residential Landscapes: A Sustainable Guide
As sustainable landscaping practices gain momentum, homeowners are increasingly looking for ways to manage stormwater runoff on their own properties. In the Pacific Northwest, where heavy winter downpours can overwhelm local drainage systems and cause erosion, bioswales have become a brilliant solution.
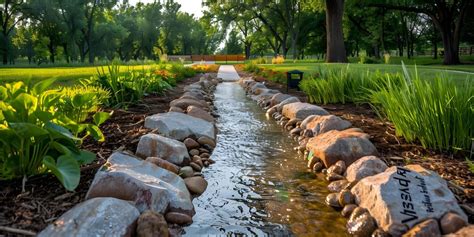
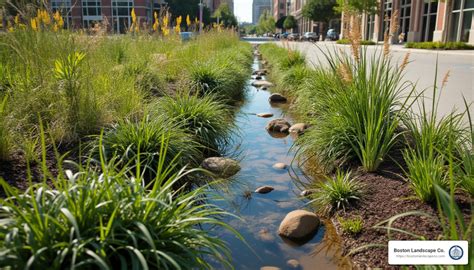
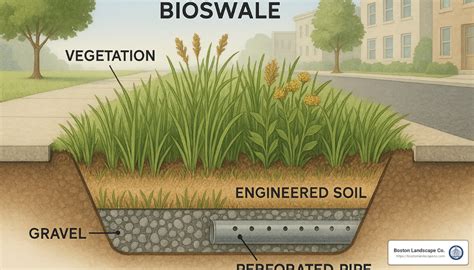
A bioswale is a gently sloped, landscaped drainage channel designed to trap, absorb, and filter stormwater runoff from roofs, driveways, and lawns. Rather than letting rainwater rush directly into storm drains—carrying pollutants, heavy metals, and oils along with it—a bioswale slows the water down, allowing it to naturally infiltrate back into the groundwater table. Strategic plant choices will also help neutralize some pollutants.
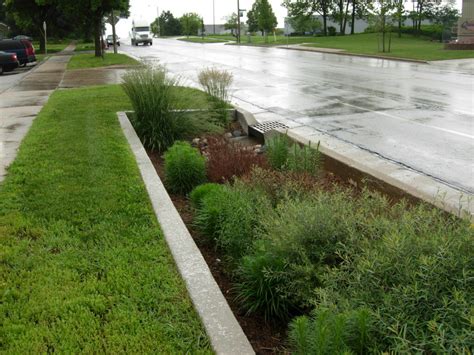
1. Site Needs and Engineering Requirements
Before building a residential bioswale, proper planning is essential to ensure it functions effectively without damaging your home's foundation or flooding neighboring properties.
Location and Slope: Bioswales should be positioned in natural low points of your yard where water naturally collects or where downspouts and hardscapes drain. The base of the swale should have a gentle grade—typically a slope of 1% to 3%—to encourage water to meander slowly rather than rush straight through.
Percolation and Soil Testing: Conduct a simple perk test to ensure your native soil can drain properly. If your yard sits on heavy, impermeable clay, you may need to excavate deeper and install a perforated drain pipe wrapped in gravel beneath the swale to prevent standing water.
Setbacks: Always maintain a safe distance from your home's foundation. As a general rule, bioswales should be built at least 10 feet away from foundation walls to prevent basement seepage.
2. Incorporation into Landscape Design
A well-designed bioswale is not just a functional drainage ditch; it can be one of the most striking, sculptural features in a residential garden.
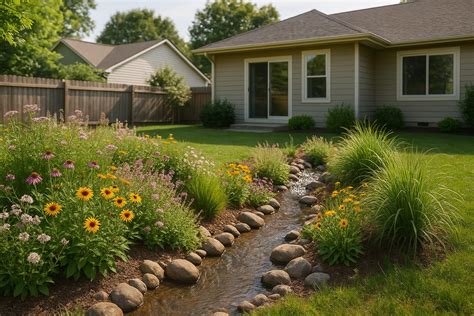
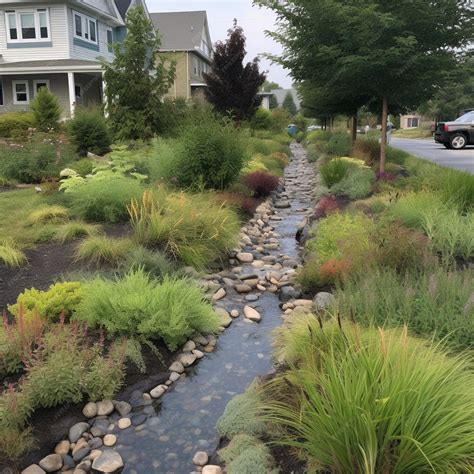
Shape and Contour: Avoid rigid, straight-line concrete trenches. Instead, design winding, meandering paths that mimic natural streambeds. Broad, shallow "U-shaped" profiles blend seamlessly into turf or garden beds better than sharp, steep-sided V-shapes.
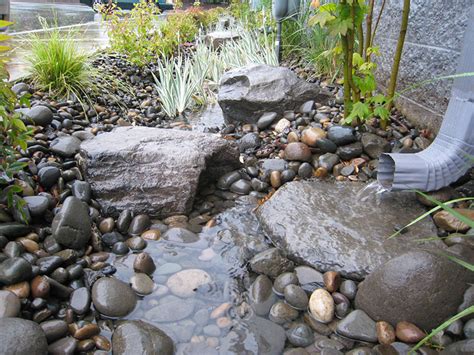
Hardscape Integration: Use decorative river rocks, smooth boulders, and cobbles along the base and inlet points. Not only do rocks prevent soil erosion where high-velocity water enters from a downspout, but they also create a gorgeous dry-creek-bed aesthetic during dry summer months.
Stepping Stones and Bridges: Enhance accessibility and visual interest by placing flat stone steppers or a small wooden footbridge across wider sections of the swale.
3. Common Plants Used in PNW Bioswales
Plants are the workhorses of a bioswale. They must be tough enough to survive completely waterlogged, saturated soils during wet PNW winters, yet resilient enough to handle prolonged drought conditions during dry summer months.
Emergent and Wet-Zone Plants (Center of Swale):
-Slough Sedge (Carex obnupta): A local native powerhouse with dense root mats that stabilize banks and tolerate standing water.
-Hardstem Bulrush (Scirpus acutus): Adds vertical architectural interest in wetter zones.
-Sword Fern (Polystichum munitum): Excellent for the edges and slightly elevated slopes.
Flowering Perennials and Shrubs (Transition Slopes):
-Red-Osier Dogwood (Cornus sericea): Offers stunning bright red stems in winter and lovely white flowers in spring.
-Pacific Ninebark (Physocarpus capitatus): Tolerates both wet feet and drought, featuring lovely peeling bark and pinkish-white flower clusters.
-Blue Elderberry (Sambucus cerulea): Great for attracting pollinators to upper slopes.
-Douglas Spiraea (Spiraea douglasii): Produces distinct pink, feathery flower spikes beloved by native bees.
4. Maintenance Requirements
While bioswales are designed to be relatively low-maintenance once established, they do require seasonal attention to function properly.
Debris Removal: Clear fallen autumn leaves and organic debris from the swale inlet and channels regularly. If leaves form a dense mat, they can block water flow and cause pooling.
Weeding: During the first two growing seasons, hand-pull aggressive weeds before they establish deep roots. Once your native plantings fill in and form a dense canopy, they will naturally crowd out most weeds.
Mulch Management: Use coarse, fibrous arborist wood chips rather than fine bark dust. Fine bark floats away in rushing water; heavy wood chips interlock and stay put during heavy storms.
Sediment Cleanup: Periodically check where water enters the swale. Over time, silt and fine dirt washing off driveways can accumulate, requiring occasional manual removal to keep the infiltration rate high.
5. Challenges and Potential Pitfalls
Despite their many benefits, homeowners should keep a few potential hurdles in mind before breaking ground:
The Mosquito Myth: A properly engineered bioswale drains completely within 24 to 48 hours after a storm event. Because water does not sit stagnant long-term, it does not create a breeding ground for mosquitoes. However, poor grading that creates trapped puddles will attract pests.
Establishment Period: Getting plants established through their first summer can require supplemental irrigation, as young root systems haven't yet reached deep subsurface moisture.
drainagebio-swalestorm water management